


Vacation months can bring additional free time, and there’s nothing more rewarding than devoting that free time to a challenging photography project. During last year’s fall break, I decided to turn my spare energy into something creative and fun: a 2018 pet calendar.
Maybe these images will inspire you to try a calendar project yourself. It doesn’t have to be pet themed. Use your favorite subject, whether it’s astrophotography, portraits (don’t forget permission forms), or landscapes. Calendars make great gifts for friends and family.
After starting the project in October, I was pressed for time. I scoured royalty-free websites to find backgrounds to compose with. While it may seem lazy, the truth is that going this route required careful attention to lighting as well as hours of compositing in Photoshop.
Studio process
After choosing the backgrounds for each month, my wife and I set up a basic home studio with a white background. Since our cat, Jeff, (the subject of the calendar) is brown, the white would make it easy to cut out and glue onto the new backgrounds. Although not absolutely necessary, a green screen could also be used for this purpose.
The lighting setup was simple: two studio flashes and a strobe mounted on my camera for front lighting if needed. A few modifiers and gels were used to change the direction and color temperature of the light.
If you know anything about wildlife photography, you know that these sessions require a lot of patience and a handful of treats. Since we weren’t working with a green screen, we went back and forth between analyzing the light in the image while it was fresh in our minds and trying to wrangle our furry model with more treats. It was chaotic at times, but it was actually a lot of fun.
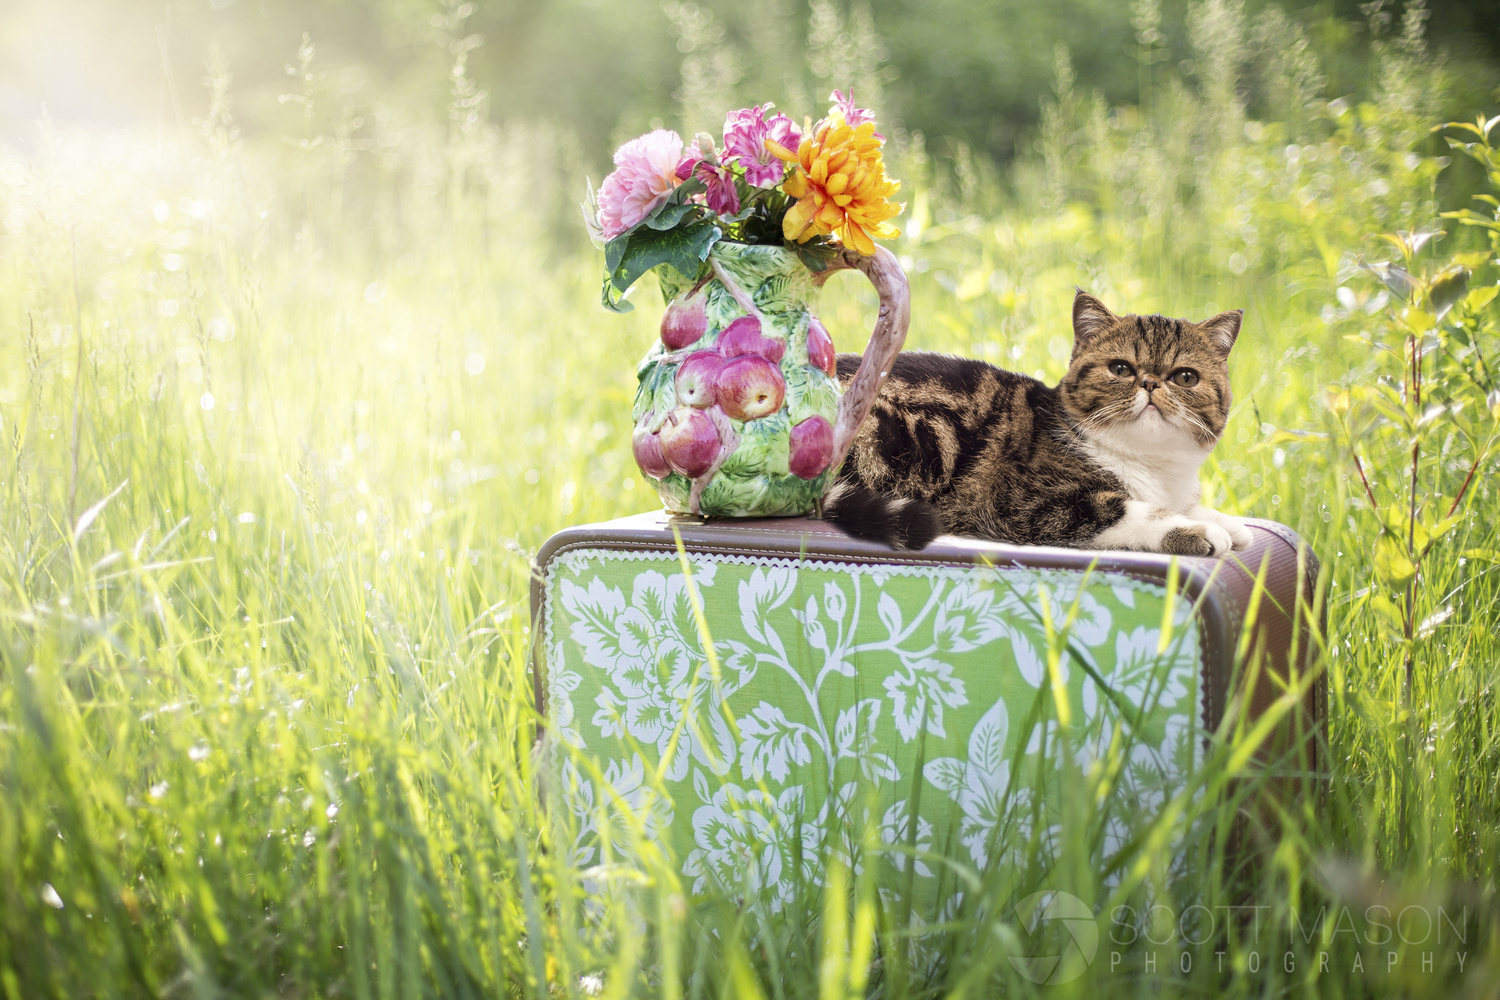
Naturally, we chose themes to suit each month and created cat images to incorporate. The themes of each month will be self-explanatory.
All subsequent images were composites – the subject (the cat) was not in any of these scenes.


Creating the calendar
You have created your 12 images, great! Now is the time to print them and create unique Christmas gifts for your friends and family. You have several options for printing your calendar, the easiest way being to take it to a professional printer.
The other, more complex option for creating your calendar is to use a template and link it to the house by drilling holes with a wire binding machine. (did I lose you? Maybe you should continue ordering your calendar online).
I hope this project was interesting for you, maybe even a useful gift idea. Feel free to share project ideas in the comments section below.