


Learning to “shake your paw” is a fun trick and can be useful for nail trimming. When your dog extends a paw, it signals to you that he is ready to begin nail trimming. If he tries to withdraw his paw, stop the session and start again when the paw is offered. Offering a paw is a quick movement trick. In the “shake hand” version, your dog extends a paw and withdraws it after contact. With “shaking a paw,” the goal is for your dog to hold the paw longer.
Your dog learns which behavior is rewarded by taking a “picture” of the desired behavior using a clicker or verbal “yes” marker followed by a treat. It is rate and reward training.
Elements needed to teach “paw shake” include:
- Sweets.
- Clicker or verbal marker “yes”.
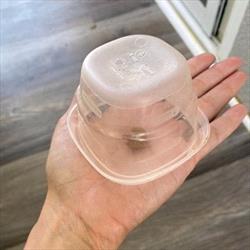
- Target, such as a clear food container or lid, through which your dog can see the treats.
- Non-slip surface for the dog to sit on.
For several sessions, hold the paw as you would if you were getting ready to cut the nails. Build duration is important for this behavior.
Dogs who are gentle with their paws can learn this behavior by following these steps with a treat in a closed fist instead of using a food container target. However, some dogs will bite your hand, which can be uncomfortable.
Once your dog regularly places his paw in your hand, increase the time you hold his paw before marking and treating by increasing up to ten seconds over several sessions.
Placing your hand flat in front of your dog is the visual cue for this behavior. Once your dog displays “shaking paw” consistently for 5 to 10 seconds, you can teach him to consent to nail clipping using this behavior.
|
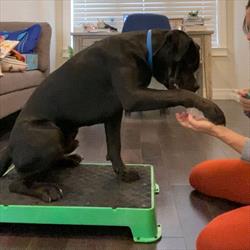
Image1.jpg Photo Courtesy Jessica Benoit RVT, VTS (Behavior), KPA CTP, CPDT-KA, EFFCP |
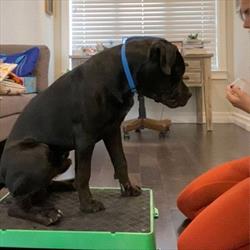
Image2.jpg Step 1: Start by asking your dog to sit on the mat or chosen station. Mark and treat for sitting behavior. |
|
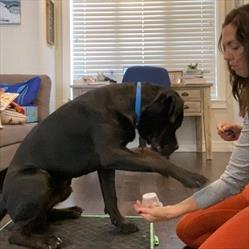
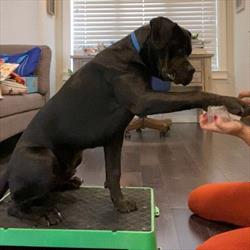
2nd step Step 2: Place the treat under the container and hold the target in your hand in front of the dog’s paw. |
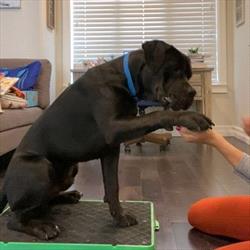
Image4.jpg Step 3: Any paw movement towards the container will earn a mark and a treat. Repeat as many times as necessary until the dog comes into contact with the container. |
|
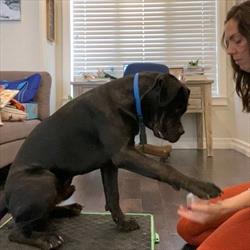
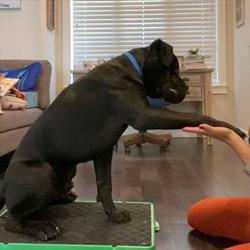
Image5.jpg Step 4: Mark and treat a paw on the target and repeat 3-5 times before moving on to the next step. |
Image6.jpg Step 5: Present your hand while holding the target slightly higher each time, always keeping the target at a comfortable height. When the dog’s paw contacts the target, mark and treat. |
|
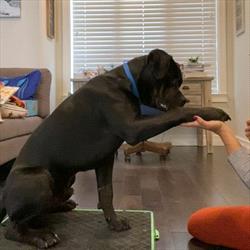
Image7.jpg Step 6: Continue to slowly raise your hand to the desired “paw shake” height, usually in line with the dog’s elbow, then mark and treat. |
Image8.jpg Step 7: Remove the container from your hand and place a treat in your closed fist. Mark and treat when your dog places his paw on your closed fist. Repeat 3 to 5 times. If your dog seems confused, return to step 6. |
|
Image9.jpg Step 8: Open your fist slightly and hold the treat loosely inside. Mark and treat when your dog places his paw on your open hand. |
Image10.jpg Step 9: Next, remove the treat from your hand and slowly open your hand without the treat, so the dog begins to place its paw on your open hand. |